Step By Step Epson Printer Installation Guide For Windows or Mac OS
In the printing industry, Epson is an unquestionable manufacturer of high-performing printers with a successful record track. When it comes to great printing output, Epson Printer is the right choice. And of course, numerous numbers of factors are available to consider such as performance, durability, reliability, cost, and quality. Thanks to Epson, you will be able to easily find out the ideal printer to accomplish your printing needs. Further, to leverage all the functionalities, you should complete the Epson Printer Installation properly.
Contents
Properly complete The Epson Printer Installation:
Whether you are using a Windows operating system or Mac Os, you should install the Epson printer very easily. Below is the proper procedure step by step that you need to implement for the complete Epson Printer Installation:
Epson Printer Installation For Windows:
- First of all, you need to ‘Turn On’ the printer.
- Navigate to the official website of the Epson,
- Choose to ‘Download’ option.
- Install the ‘Epson Connect Printer Setup Utility’ option.
- Agree to the end-user agreement by tick the checkbox.
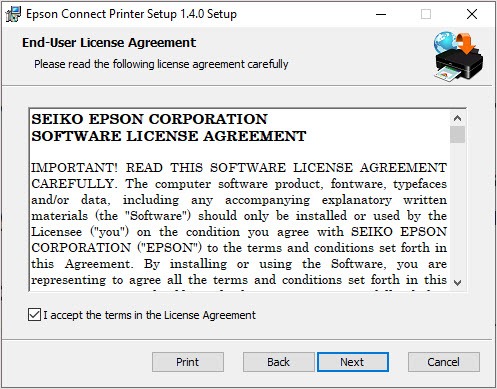
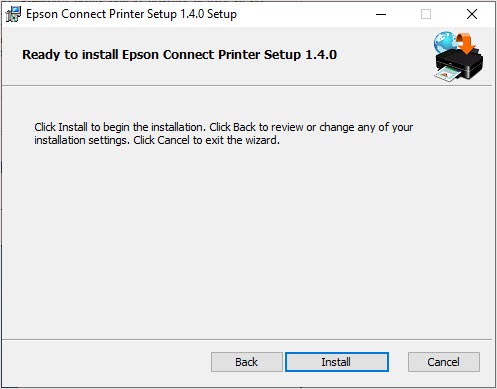
- Click the ‘Next’ and then opt for the ‘Install’ option.
- After completing the above step, select your product.
- Click the ‘Next’ option and choose the ‘Printer Registration’ option.
- Click the ‘Next’ option and then choose the ‘Agree’ option.
- Follow the on-screen instructions and click the ‘Close’ option.
Epson Printer Installation For Mac:
- Turn on your printer on your first step
- Reach out to the Epson Official Website.
- Choose to download option.
- Install the ‘Epson Connect Printer Setup Utility’ for the Mac version.
- Choose the ‘Continue’ option and then the ‘Agree’ option.
- Click the ‘Install’ and then click on the ‘Close’ option.
- Click ‘Next’ after selecting your printer.
- Select ‘Printer Registration
- Click on the ‘OK’ option and tick the box for accepting the Terms and Conditions.
- Click ‘Next’ and you will be able to create a new account.
No matter which OS you’re using: Windows or Mac, you can complete Epson Printer Installation with the above installation guide.
What Else If Problems Exist While Installation?
Due to less technical knowledge, you might face some inconvenience while installation of Epson printer. Also, you can confront several other technicalities and look for a reliable source of getting the proper guidance. Simply approach a certified professional and ask for troubleshooting assistance. By using technical backing, you can get rid of every hurdle in a couple of seconds.
Therefore, you can start working on the Epson printer flawlessly without facing any hassle. Besides, if you need more information, you should quickly visit our website right now!