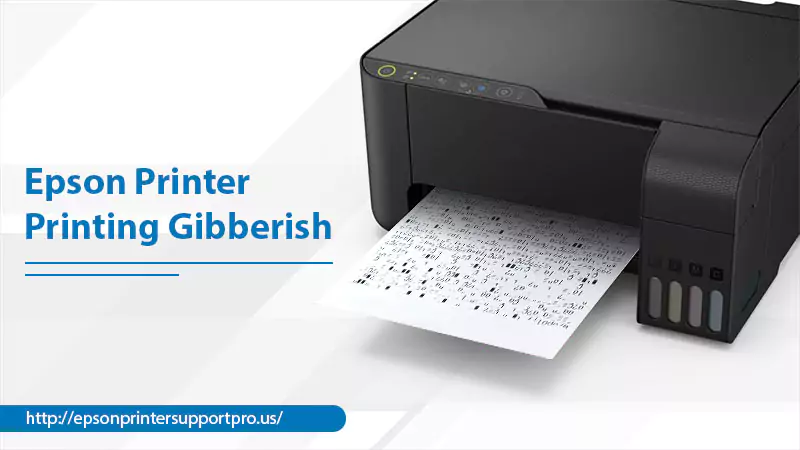
Epson Printer Printing Gibberish Problem – Causes & Fixes
Epson printers are user-friendly. So many people use them for various printing purposes. However, sometimes they can encounter technical glitches and start printing illegible text or random symbols and characters. People often find their Epson printer printing gibberish. The problem seems weird; for an average user, it is hard to brainstorm a solution.
What is surprising is that this issue does not indicate a problem with your printer hardware. On the other hand, the causes are linked to the software involved. But now that you’ve come across this article, you’ll have no issues making your Epson printer produce the desired output.
Read Also: Why Epson Printer Not Printing Color
Contents
Why Is Epson Printer Printing Gibberish?
If your Epson printer produces strange characters and symbols with unusual formatting, it can be due to many reasons. So, you must implement measures that help you fix those causes.
The leading reasons for the problem include the following.
- Connectivity issues for wireless Epson printer models.
- An internal glitch with your printing device.
- Incompatible drivers. The drivers are not compatible with your operating systems or are damaged.
- Glitches or errors in your printing program.
- The cables are not properly connected at both ends.
Techniques to Fix Epson Printer Printing Gibberish
Now that you’ve become familiar with different reasons for the issue, it’s time to troubleshoot. Follow these simple guidelines and get the expected output from your device.
1. Connect the Printer to the Computer Securely
Begin the troubleshooting by ensuring the cables are firmly secured at both ends. Add your Epson printer correctly to your system to fix this issue.
- Plug the USB cable of the printer into a port on your system.
- You can see the USB ports on the back and front of your computer.
- If using a laptop, the ports will be present on its sides.
- Now link the power supply of the printer to a wall outlet.
- Put the installation CD of the software into your system’s CD drive.
- Adhere to the prompts on your screen to finish the procedure.
- This process will take a few minutes, after which you will get a notification of its completion.
- Finally, see whether the printer has been installed properly.
- Tap ‘Start’ followed by ‘Printers and Faxes.’
- You should see your Epson printer on the list.
- Take a test print and see if you still find printer printing gibberish on Epson.
2. Clear Prior Print Jobs
If there are too many print jobs on your printer, it will encounter problems. So, ensure to clear prior print jobs and check whether the problem resolves.
For The Windows 10
- Tap the Windows Start button.
- After that, choose the ‘Settings’ icon followed by ‘Devices.’
- Select ‘Printers & Scanners.’
- Choose your product name and tap ‘Manage.’
- Now, choose ‘Open print queue.’
- Right-tap on the stalled print job.
- Tap ‘Cancel’ followed by ‘Yes.’
For The Windows 8
- Access the ‘Apps’ screen and choose the Control Panel option.
- Now select ‘Hardware and Sound’ followed by ‘Devices and Printers.’
- Right-tap on your printer’s name.
- Now choose the ‘See what’s printing’ option.
- If required, choose your product name again.
- Right-tap on the stuck print jobs and tap ‘Cancel.’
- Finally, click ‘Yes.’
3. Reinstall Epson Printer
Reinstalling the Epson printer will also make it functional again. First, uninstall the printer by going to the ‘Devices and printers’ section. Right-tap on your Epson printer and click ‘Remove device.’
Following are the steps for reinstalling printers for Windows and MacOS users.
For The Windows
- Turn on your printer.
- Head to the official Epson website.
- Here, install the Epson Connect Printer Setup Utility compatible with your Windows version.
- Review the agreement and tap ‘Next.’
- Click ‘Install’, choose your product, and hit ‘Next.’
- Choose ‘Printer registration’ and tap ‘Next.’
- Tap ‘Agree’ followed by ‘Next.’
- Tap ‘OK’ on the window of Register a Printer to Epson Connect.
- Sign up with your account and hit ‘Close.’
For The Mac
- Put the Epson CD-ROM into your device.
- Now, double-tap the icon of this CD-ROM.
- After that, click the Epson OSX installer icon twice.
- Choose ‘Install printer driver.’
- Use the instructions to upgrade your printer software.
- Lastly, restart Mac.
- MacOS 8.5.1 to 9. x users should insert the CD-ROM and then double-tap the Epson OS 9 installer icon.
- On the main menu, tap ‘Install printer driver.’
- Tap the arrow in the Easy Install list.
- Choose ‘Uninstall.’
- Hit the ‘Uninstall’ button and go by the instructions.
- Restart Mac and go by the instructions on the Start Here sheet to reinstall the printer software.
4. Reset your Epson Printer
Resetting the printer makes it start from scratch. So, if you find your Epson printer printing gibberish, try resetting it.
Follow these points to reset and configure your printer.
- Turn off the printer.
- Now, use a paper clip or a pen’s tip to press and hold reset at the back of your printer.
- When you do this, power on your printer model. Do not release the reset button. Continue holding it.
- After five seconds, a warning will come out.
- At this point, let go of the reset button.
- Now, after five more seconds, another sheet will be produced from the printer.
- It will have the factory reset IP address of your printing device.
- The latest Epson printer models have a default to a DHCP address.
- The older Epson printer models default to the following IP address: 192.168.192.168
- Now, you must configure the printer.
- Open a web browser, enter the IP address, and hit ‘Go.’
- On the next page, input your login credentials.
- These include your username and password or the printer’s serial number.
- Head to ‘TCP/IP.’
- Here, write the IP address as 192.168.22.204
- The Subnet Mask 255.255.255.0
- The default gateway should be 192.168.22.1
- Disable the option, ‘Set using automatic private IP addressing.’
- Enable the option, ‘Set IP address using ARP + PING.’
- The socket timeout value is 300.
- Tap ‘Submit’ and power cycle your printer.
Read Also: Why Epson Printer Printing Blank Pages
Summing Up
Use the various fixes described above to easily fix your Epson printer printing gibberish. Remember to follow the methods exactly as they are described to get the desired results. If you need more clarification on any of these methods, consult a printer technical support service.