Your guide to reset Epson printer to factory settings!
If you are facing some issues with your printer then you will be required to reset the Epson printer to factory settings. It will set it to default, just like it was when you first purchased your printer.
Factory reset Epson printer will not help you to remove bugs but it will also give you a clean slate to start from.
Contents
How to reset Epson printer to factory settings?
There are a number of ways that you can use to reset Epson printer to factory settings like using the control panel or the reset button. You can follow the one that suits you the best:
Control panel of the Epson printer
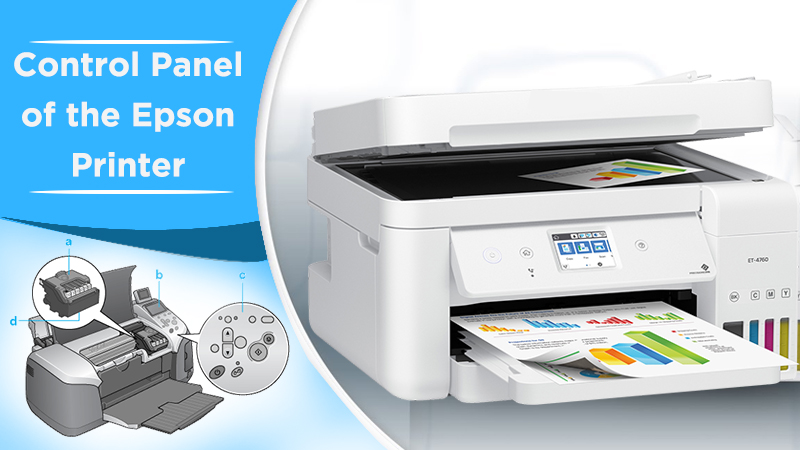
- Firstly, you need to go to the Home menu on the Control Panel of the printer
- After that, use the left and right buttons to open the Setup Menu and click on ‘Ok’
- To find the restore default settings option, you can use the left and right navigation buttons and press ‘Ok’
- In the same way, to restore network settings you can use the up and down detect button and click on ‘Ok’
- Restart your printer once you are done
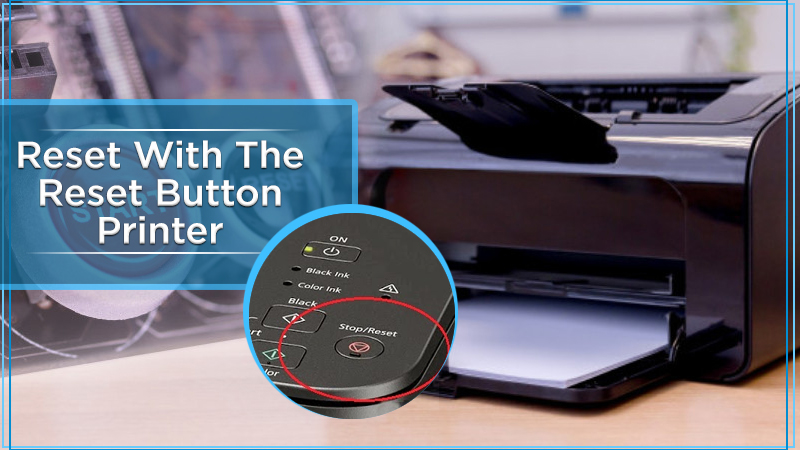
- Switch off your printer with the help of the power button
- Press and hold the reset button that can be found at the back of the printer
- Turn on the printer but hold down the reset button for at least 10-12 seconds
- Release the reset button after the warning page gets printed
- Finally, you can use this IP address to reform the printer on the system
Reset with the Printer Adjustment Program
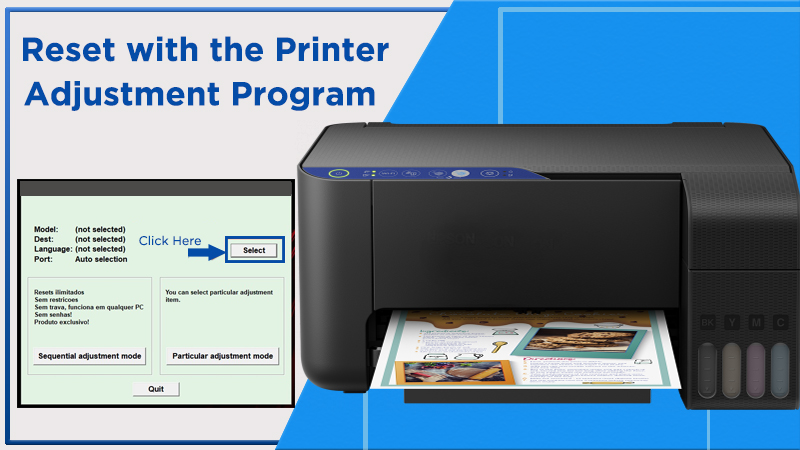
- Download and install the latest version of the printer adjustment program on your system
- Open the printer adjustment program on your system after that
- Click on ‘Select’ to create a required option
- When you land in the Select menu, choose your printer’s model number and the port to which the printer is linked to the device
- Click on the OK button after that
- The alteration and maintenance window will pop up. Select the waste ink pad counter option under the maintenance section.
- Now, the adjustment and maintenance window will open. You can select the useless ink pad counter option under the maintenance section.
- Click on ‘Ok’
- Once you check the main ink pad counter option and hit the Start button on the bottom right corner.
- Select the Finish button to finish the reset process and restart the printer when done
Know how to reset the Epson Printer
You can simply reset the printer with the help of the steps that we will be sharing with you:
- Open the Control Panel of the Epson printer
- Next, you need to find the “Pause” or “Reset” button
- Hold it for about 5 seconds and the counter will get reloaded once you locate the button
- Test whether the counter has now started from the first print or not
This process will be done in 2 minutes. However, you might have a problem in finding the ‘Pause’ or ‘Reset’ button. If you can’t find it then refer to the points mentioned below:
- You need to press the “On/Off” button in your printer and hold it for about 5 seconds
- This will remove the timer and reset your printer totally
Once you are done with it, you can check the timer and repeat the action till you see that the timer has been restarted from 0. You should also see if your Epson printer driver is updated or not.
This is how you will be able to reset the Epson printer to factory settings. If you face any issue then you can reach out to the Epson printer support and we will be happy to assist you.